What is Overstriding Running?
Overstriding running is when your foot lands too far out in front of your centre of mass when you run. This creates a braking force that you must overcome to propel yourself forward. It also encourages you to land hard on your heel with a straight knee. This increases impact which may increase your risk of injury.
Overstriding running is a really common problem among recreational runners. Not so much with the professionals. You don’t get very far into professional running if you have to work harder than all of your competition. So the over striders are naturally selected out of the professional ranks. Recreational runners are a different story. You won’t be able to run a sub 1 hour half marathon with the brakes on but you might be able to run under 1:30 if you’re fit enough. However, if you’re overstriding, you’re probably not reaching your potential.
How do I know if I’m Overstriding?
So what does overstriding running look like? We want to see where the foot is taking load and how far in front of our centre of mass that is. This is really easy nowadays with high speed cameras on our phones. You want to take a video from a side view as you run on a treadmill or just run past the camera. I like to use the Hudl Technique app but there are others for android such as Coach’s Eye. You can see an example of me overstriding here.
I’ve frozen the video right at the point of loading response (when I start to take load on the leg). This is the point where the cushioning of my shoe just begins to deform a little. I’ve drawn a circle around my pelvis and a vertical line up from my lateral malleolus (bony lump on the outside of the ankle). A useful rule of thumb is that we want that lateral malleolus under the pelvis to be sure we’re not overstriding (Souza 2015). The arrows show the propulsive force (red) vs the braking force (green).
As you can see in the second image, I’m landing under my centre of mass now and not overstriding. Now I have less braking force to overcome as indicated by the red line.
Related Course

The Running Fundamentals Course is a free online course to help runners understand the foundations of running performance.
Enter your name and email and I’ll send you one module each week.
How do I Fix Overstriding Running?
Now that we know how to identify the running technique error we need to know what to do about it. I’ve discussed previously some strategies to reduce overstriding:
Overstriding – Is it Bad for Runners?
There is another handy drill that I’ve been using more and more over the years.
Start by running on the spot. Stay on the spot but try and hit the same running cadence (step rate) that you normally run with. You don’t need to be exact, just turn your legs over at roughly the same speed you normally do when you run. Now, if we look from the side you will see that there is no overstriding as you always land the feet under your centre of mass.
So at a speed of 0 kmph you are not overstriding. Now we just need to increase your speed a little. Once you have found your natural running cadence on the spot, we want to move every so slowly forwards. Try to run as slow as you possibly can. So slow you are barely moving. Again, viewed from the side we should see no overstriding.
Continue at this incredibly slow pace for a few seconds. Now we’re going to increase the speed a tiny bit more. Try to do this by leaning ever so slightly forwards. A tiny little lean that comes from the hips. Don’t bend over at the shoulders. Imagine trying to lean like the leaning tower of Pisa.
Continue a few more seconds and then increase your speed a tiny bit more. Again, only a tiny bit. Try to make the increases in speed each time as small as you are able. Every few seconds get a little bit faster. When you reach your regular pace, stop and repeat.
You’re going to repeat this drill 5 times every run. Running on the spot and then speeding up ever so slowly with a slight forward lean until you reach terminal velocity. Try and set up a video that captures the latter part of the drill. Slow it down and see if your foot is landing closer to underneath the pelvis. If so, it’s working. Keep practicing.
Practice this drill every time you run for 3 weeks. Then take another video of you running from the side. See if you’re landing under your centre of mass now (pelvis). If you are then it’s worked. Now you’ll need to maintain the improvement. I’d suggest including the running on the spot drill during 1 run each week. I also recommend runners do a formal running gait analysis every 6 months. Ideally with a professional, like me 🙂 or using your phone and some helpful articles.
A word about Foot Strike
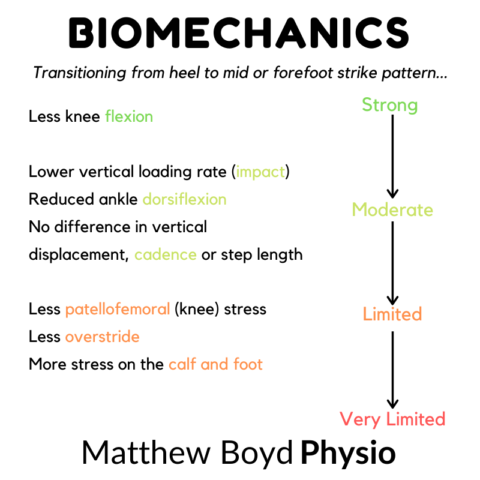
As you can see from the videos. Running on the spot forces a forefoot strike. I’ve written previously about the nuances of foot strike when running:
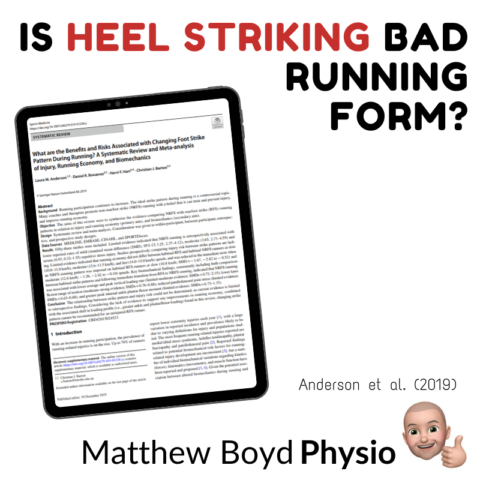
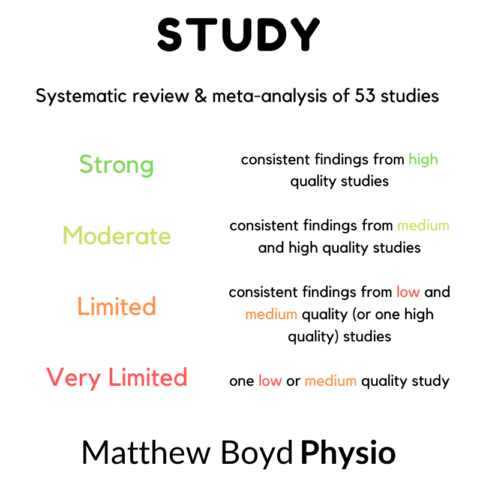
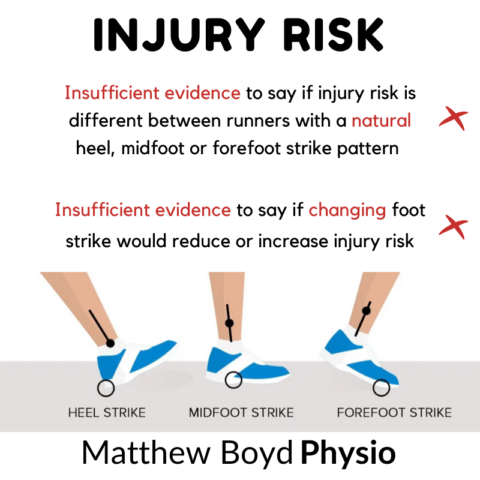
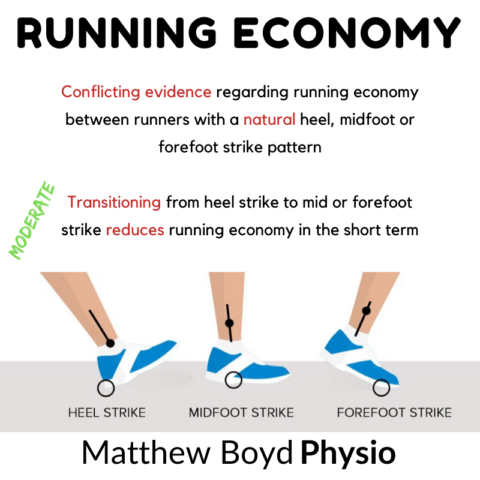
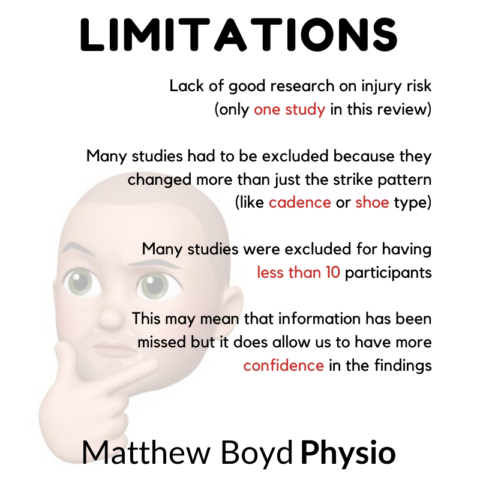
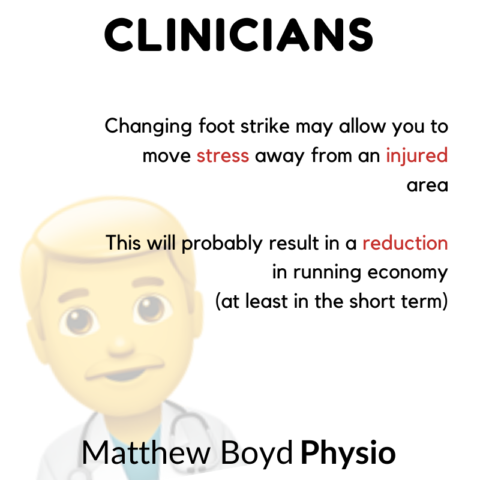
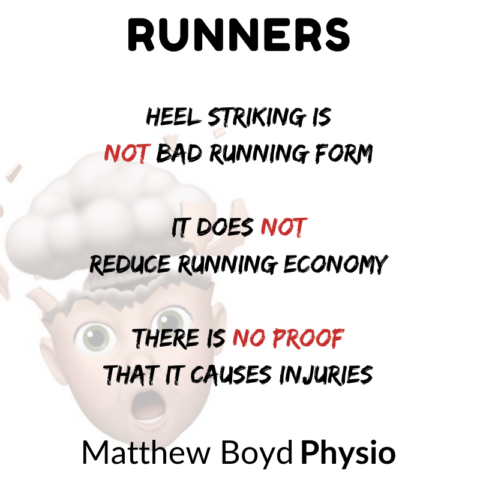
Is Heel Striking Bad for Runners?
This drill is not about foot strike. We are not trying to change your foot strike and I don’t want you to think about it when you’re practicing this drill. Just let the foot land how it wants to land. We care about where the foot lands, not how it lands. We’re just getting the foot under the centre of mass so we avoid overstriding.
You may notice you land more on the forefoot at the really slow speeds and more towards the mid or rear foot as you slowly speed up. This is fine. You may notice this drill changes your natural foot strike. This is also fine. We’re going to be doing this drill a little bit each day. Your foot will have plenty of time to adapt.
Changing your Running Technique
As always, if you’re trying to improve your running technique you have to remember to go slowly. The biggest risk factor when it comes to running injuries is change. So even if we are improving your running technique, we will be changing how different tissues are stressed. These tissues need time to adapt. So go slowly. If you experience pain, go slower!
Give it a try and let me know in the comments how you get on!
